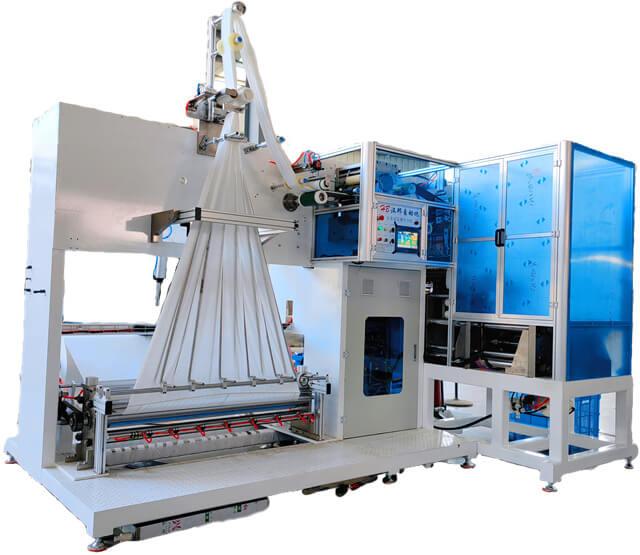
Author:HB Nonwoven MachineryFROM:Compressed Towel Machine Manufacturer TIME:2023-11-11
Installation Guide for Non Woven Fabric Cutter
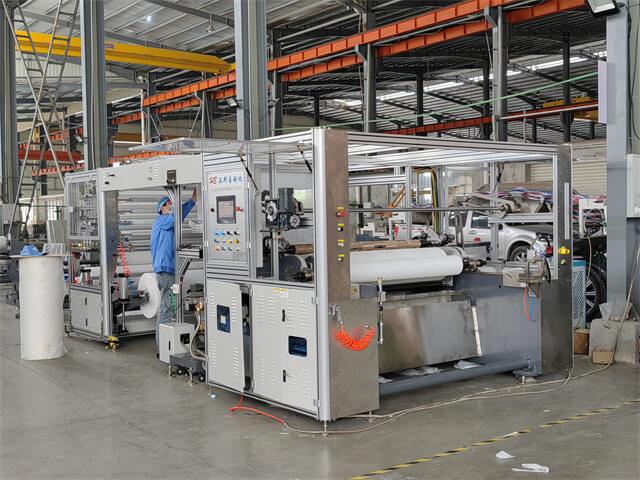
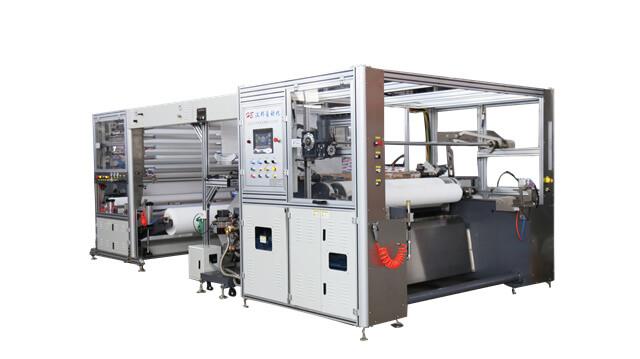
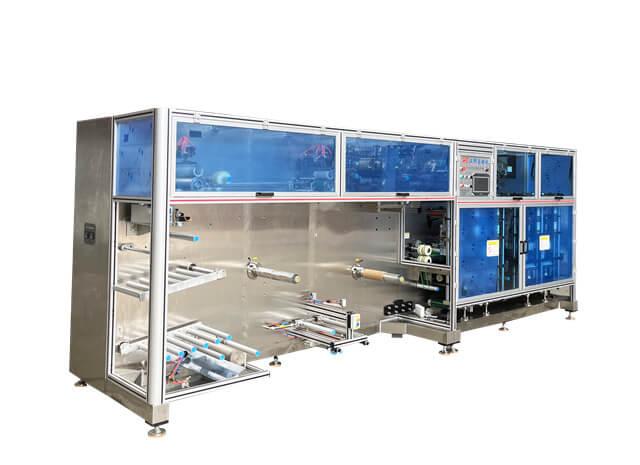
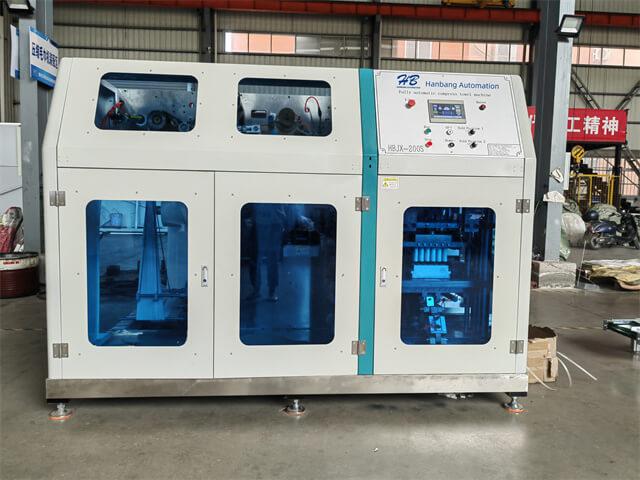
Non woven fabric cutters play a crucial role in the hygiene industry, especially in the production of products such as diapers and sanitary napkins. These cutters are efficient and precise machines that enable manufacturers to enhance their productivity and deliver high-quality products. To ensure optimal performance, it is essential to install the non woven fabric cutter correctly. This installation guide aims to provide step-by-step instructions for installing the cutter.
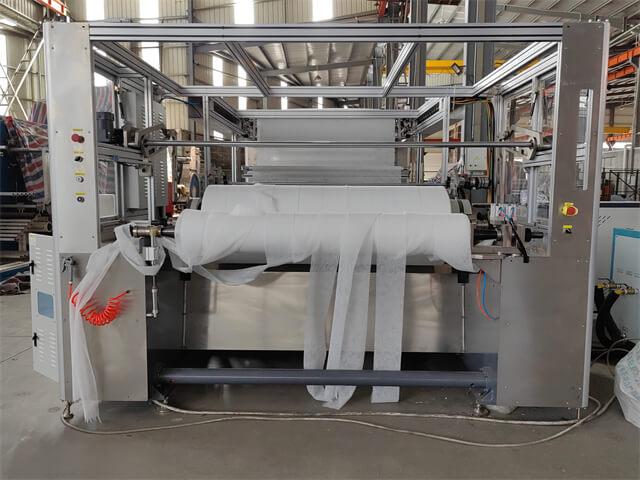
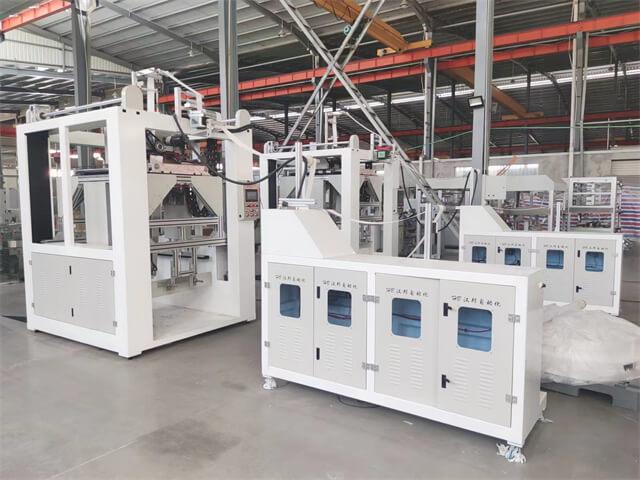
The first step in installing the non woven fabric cutter is to prepare the workspace. Clear any clutter and ensure there is enough room for the machine. Make sure the flooring is clean and level, as this will provide a stable foundation for the cutter. Additionally, ensure that the workspace is well-lit and adequately ventilated to create a comfortable working environment.
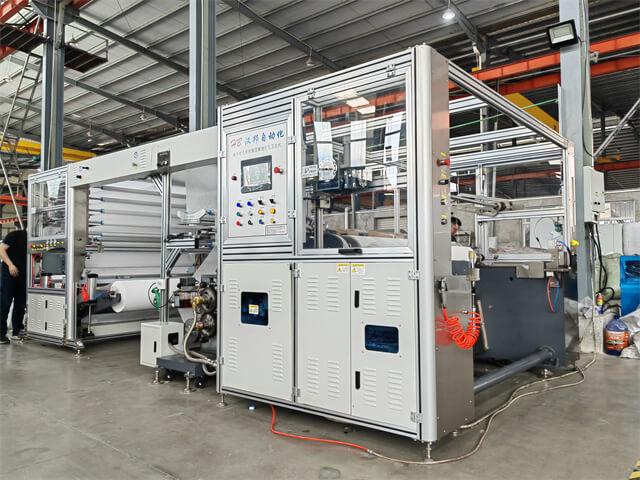
Once the workspace is ready, it's time to assemble the non woven fabric cutter. Start by unpacking all the components and carefully inspecting them for any damage. Follow the manufacturer's instructions and connect each part correctly. Tighten all screws and bolts securely, ensuring that everything is properly aligned. Refer to the provided diagrams or user manual for any specific assembly details.
After the cutter is fully assembled, proceed with the electrical connections. Ensure that the power source matches the machine's requirements and voltage rating. Connect the power cable to the cutter, making sure it is securely plugged in. If there are any additional electrical connections, such as emergency stop buttons or control panels, carefully follow the manufacturer's instructions to connect them correctly.
The blade is a critical component of the non woven fabric cutter. Proper installation and alignment are crucial for optimal cutting performance. Carefully attach the blade to the cutter, ensuring it is securely fastened. Adjust the blade's position according to the manufacturer's guidelines to achieve the desired cutting accuracy. Take necessary safety precautions while handling and installing the blade.
Prioritize safety when working with the non woven fabric cutter. Install any necessary safety features, such as safety guards or emergency stop buttons, as per the manufacturer's instructions. Ensure that all operators are trained on the safe operation of the machine and provide them with appropriate personal protective equipment (PPE) like gloves and safety glasses. Regularly inspect and maintain safety features to ensure their effectiveness.
Before putting the non woven fabric cutter into full operation, conduct thorough testing and calibration. Turn on the machine and check if all components are functioning correctly. Test the cutting accuracy by running a sample material through the cutter. Make any necessary adjustments to achieve the desired cutting quality and precision. If there are any issues, consult the manufacturer's troubleshooting guide or contact their technical support.
Train all operators who will be using the non woven fabric cutter. Provide comprehensive training on the machine's operation, safety protocols, and maintenance procedures. Ensure that operators understand how to load materials, set cutting parameters, and perform routine maintenance tasks. Ongoing training and refresher courses should also be provided to keep operators updated with any advancements or changes in the cutter's operation.
Proper installation of non woven fabric cutters is essential for ensuring their optimal performance and longevity. By following this installation guide, manufacturers can successfully set up the cutter, enhance their production processes, and deliver high-quality hygiene products. Remember to prioritize safety and regularly maintain the cutter to ensure its continued efficiency. With proper installation and regular maintenance, the non woven fabric cutter will contribute significantly to the success of the hygiene industry.
